
 Recientemente decidí reinstalar la versión de Ubuntu que tenía en la laptop, justamente el día que salió Gutsy Gibbon, no actualizaba desde Dapper, como tengo el /home en una partición aparte la reinstalación no supuso mayores problemas sin perdida de datos.
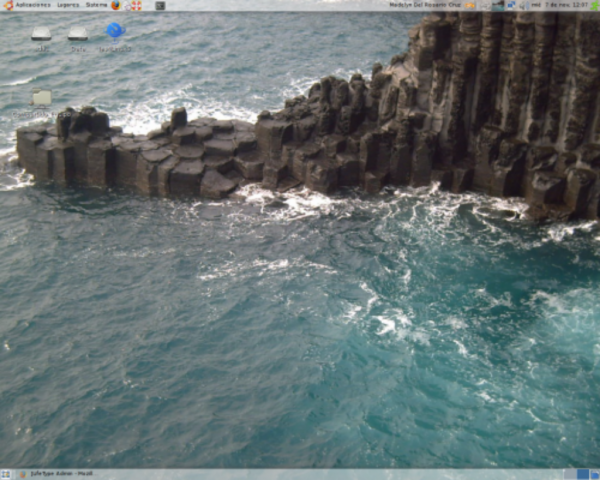
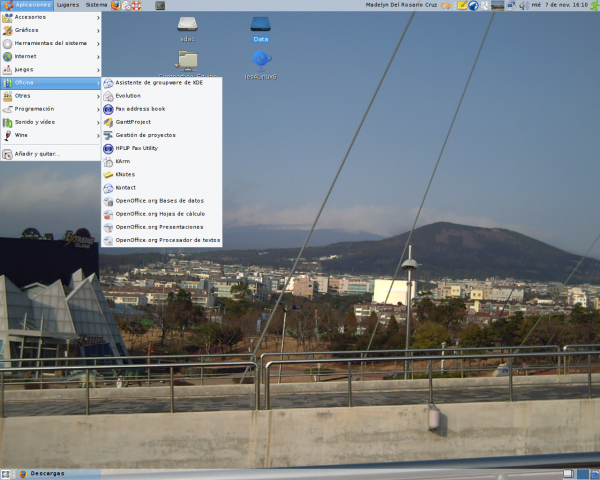
Aquí les muestro una fotografía de mi escritorio:
«NTLM Authorization Proxy Server
‘NTLM Authorization Proxy Server’ (APS) is a proxy software that
allows you to authenticate via an MS Proxy Server (e.g. ISA server)
using the proprietary NTLM protocol. Since version 0.9.5 APS has an
ability to behave as a standalone proxy server and authenticate http
clients at web servers using NTLM method. It can change arbitrary
values in your client’s request header so that those requests will
look like they were created by MS IE. It is written in Python v1.5.2
language.
Main features:
* supports NTLM authentication via parent proxy server
(Error 407 Proxy Authentication Required)
* supports NTLM authentication at web servers
(Error 401 Access Denied/Unauthorized)
* supports translation of NTLM scheme to standard «Basic»
authentication scheme
* supports the HTTPS ‘CONNECT’ method for transparent tunnelling
through parent proxy server
* has ability to change arbitrary values in client’s request headers;
* supports unlimited number of client connections
* supports connections from external hosts
* supports HTTP 1.1 persistent connections
* stores user’s credentials in config file or requests password from a console during the start time»
- Bajar el NTLMAPS desde http://packages.ubuntu.com/gutsy/web/ntlmaps
- Si lo bajas con firefox (suponiendo como en mi caso que aceptaba el proxy) te preguntará si quieres abrirlo con el manejador de paquetes.
- En caso contrario abre una terminal y escribe: sudo dpkg -i ntlmaps_0.9.9.0.1-7_all.deb
- Puedes editar el archivo /etc/ntlmaps/server.cfg manualmente y ajustar las preferencias.
- Reinicia el NTLMAPS con /etc/init.d/ntlmaps restart
- Coloca todo los programas apuntando al proxy: http://127.0.0.1:5865
Edita el archivo: /etc/apt/apt.conf y agrega la línea: Acquire::http::Proxy «http://127.0.0.1:5865»; e intenta «apt-get update«.Cambia la configuración del proxy del sistema en: Sistema> Preferencias -> Proxy de la red -> proxy: 127.0.0.1 port 5865 (no authentication)Y en Synaptics:Sistema> Administración -> Gestor de paquetes Synaptic ->Configuración -> Red -> Configuración manual del proxy: 127.0.0.1 port 5865 (no authentication)
- Y podrás acceder a todos los servicios de la red que te ofrece el proxy.
- Simple, sencillo, orientado al usuario común, pues los programas que necesita los tiene a la mano.
- Rápido, mi principal problema con la instalación de Windows era el problema de la memoria cache, no dejaba que fuera productivo, pues ralentizaba todo.
- Intuitivo, todo en su lugar
- Personalizable
- Siempre encontrarás un programa para cada caso, al menos que te hayas habituado a utilizar alguna herramienta en específico no sentirás que te falta algo, sino que haz ganado y mucho.
No Comments